
The Best Paint Clean Up Hack Ever!
The worst part of any DIY project is cleaning up, right? Raise your hand if you agree! After years of painting for our business and for projects around the house, I finally figured something that actually helps with clean up! It’s so easy it’s embarrassing. I don’t know why I didn’t think to share this with you sooner!
No more paint running down the can or filling the well around the top of the can and then splattering everywhere when you put the lid back on. The best part it, it doesn’t require a fancy tool. I’ve tried silicone pour spouts and all it did was cause another mess to clean up. I’m way too impatient for that…
Get ready, your mind is about to be blown… (video below)
ALL YOU NEED IS A PAPER TOWEL! Yep, that’s it. Just a simple paper towel that you probably would’ve used to wipe your hands when you were done anyway. We use “shop rags”, because that’s what we use for other projects in the shop. Shop rags are a little heavier duty than a standard paper towel. but a standard paper towel would do the trick, too.
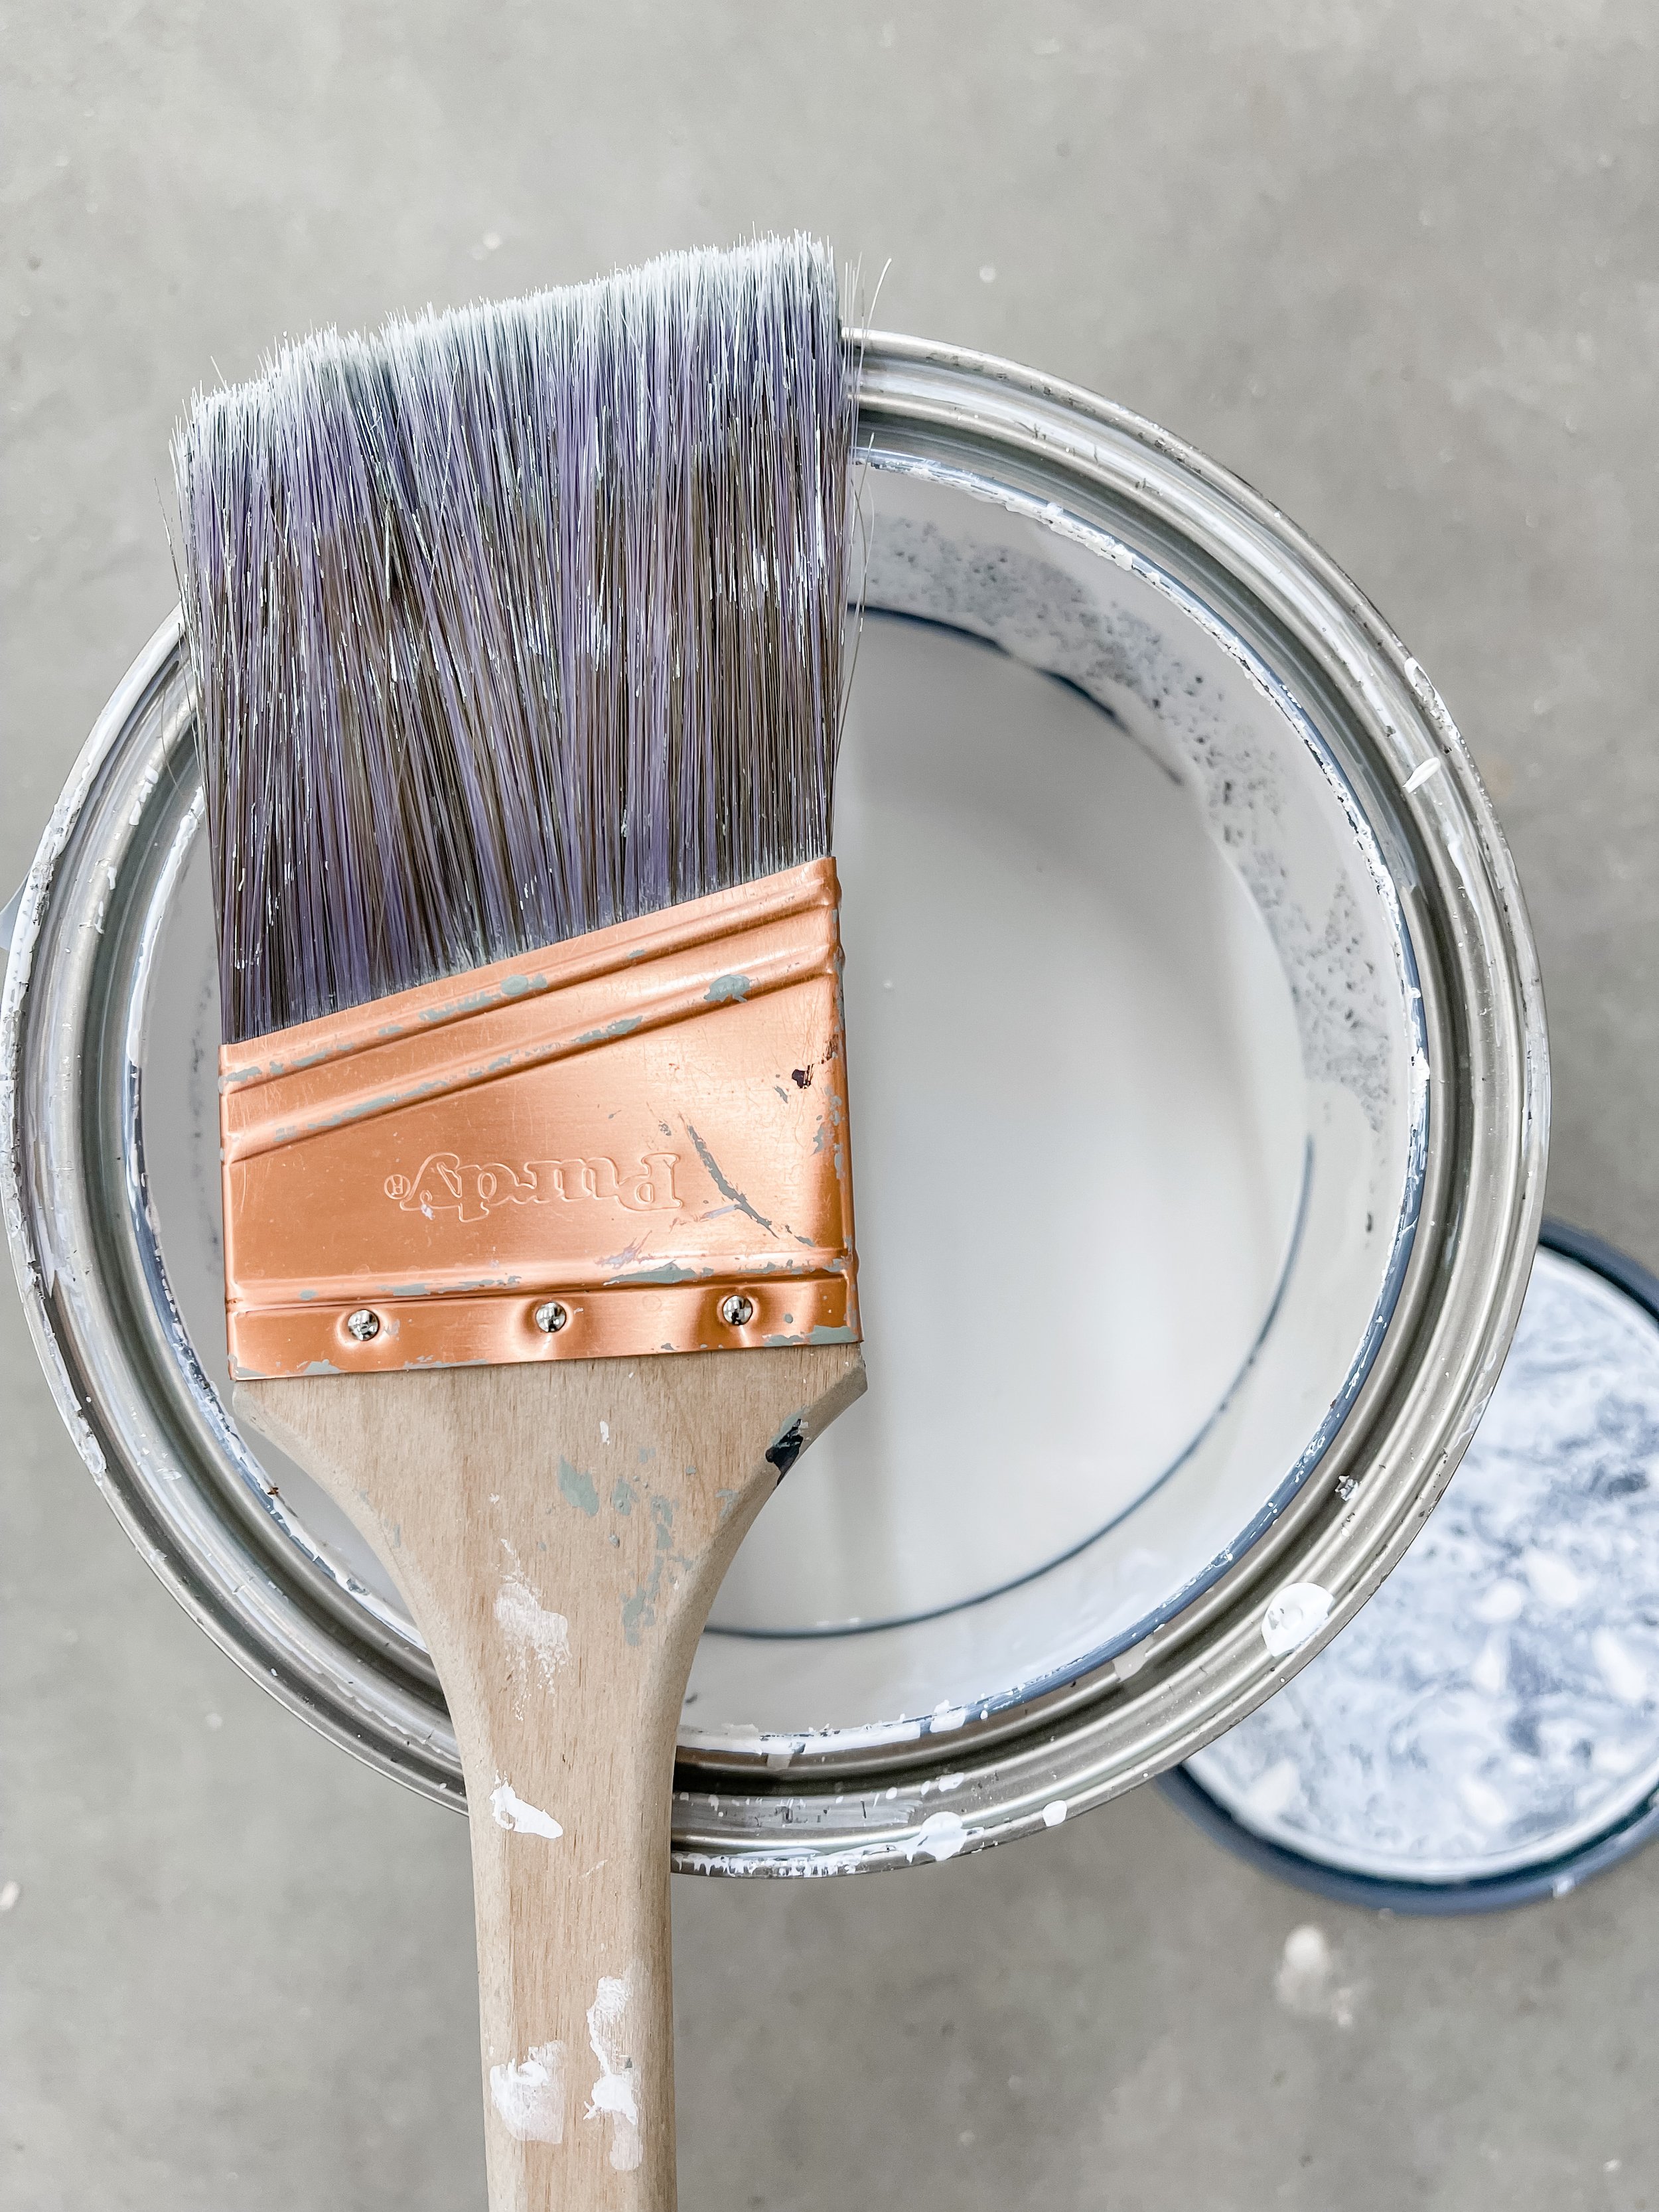
1.Push the paper towel into the well of the paint can. Try to get as much of the rim covered as possible.

2. Slowly pour the amount of paint that you need.

3. While painting, flip the other side of the paper towel over the top of the can to cover the can like a temporary lid.
4. When you’re done, carefully remove the paper towel from the well.
5. Wipe the inside of the mouth clean and toss the paper towel.
6. Replace the lid. (I use a rubber mallet all the way around the lid to ensure it is sealed.)
Doing this simple hack will not only save you clean up time, but also allow for the lid to be sealed properly even after repeated used. It keeps the can clean which also keeps the paint fresh and the can from rusting as quickly. Friend, it’s a win all around!
I hope this tip is helpful to you. With as frustrating as paint projects can be, any little bit helps!
Happy Painting,